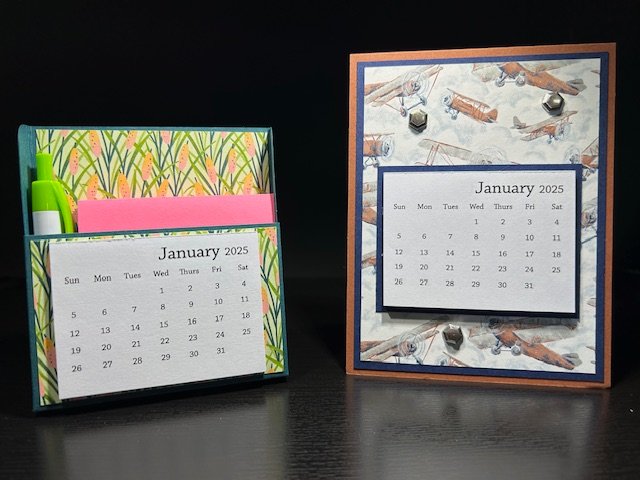
I do a couple of Christmas craft fairs each year and one of my best sellers are my calendars, so I thought I would show you how I make them. They also make great gifts! Both types of calendars fit into our clear envelopes. The calendars are from Taylored Expressions in the U.S. You can find them here. As shipping to Canada is quite pricey, I did find some in Canada this year, at Two Scrapbook Friends in Waterloo, and ordered the calendars from them.
You can use whatever cardstock and DSP you have on hand. It’s a great way to use up some of your retired papers. As I was showing this on my Facebook live, I wanted to use current product, but for my craft fairs I will often use retired product.
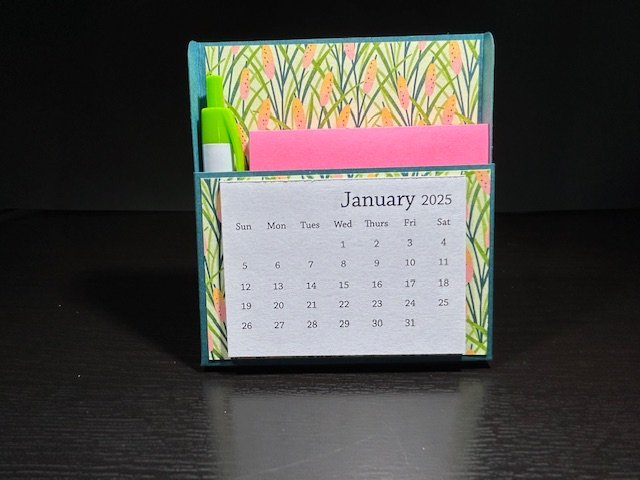
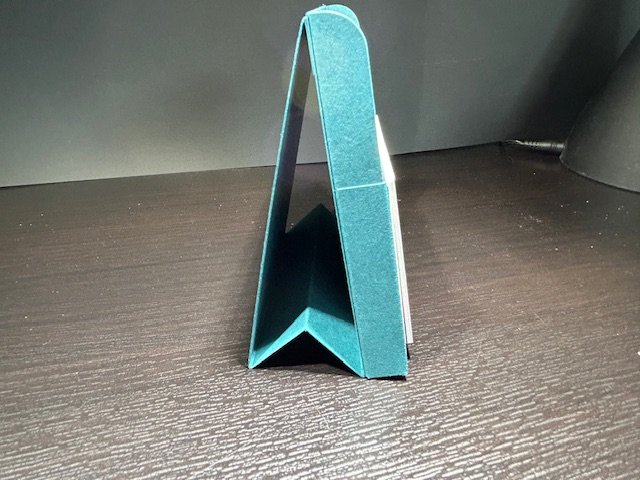
Here are my measurements for the post-it note calendar. Cardstock for the calendar holder is 4.75″ x 7.25″, score on short side 1/2″ on both sides. Score at 4.25″ and 4.75″ on long side. Corner round the top two corners. Cut cardstock for pen holder 2″ x 2 3/16″. Score at 7/16″, 14/16″, 1 5/16″ and 1 12/16″. Burnish and glue ends together. Cut DSP 3 5/8″ x 2 3/8″ for bottom piece and 3 5/8″ x 3 3/4″ for top piece and adhere to calendar holder. Add the pen holder with adhesive. The easel part is 3 3/4″ x 11″. Score on long side at 1/2″, 4 3/4″, 5 3/4″ and 6 3/4″. Attach to calendar holder. Add calendar, post-it note and pen.
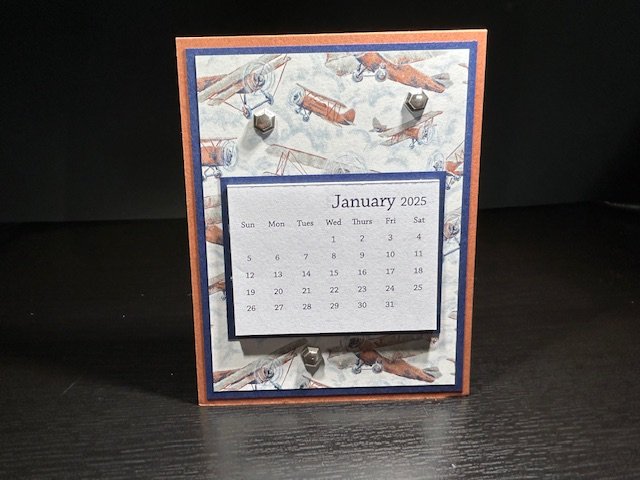
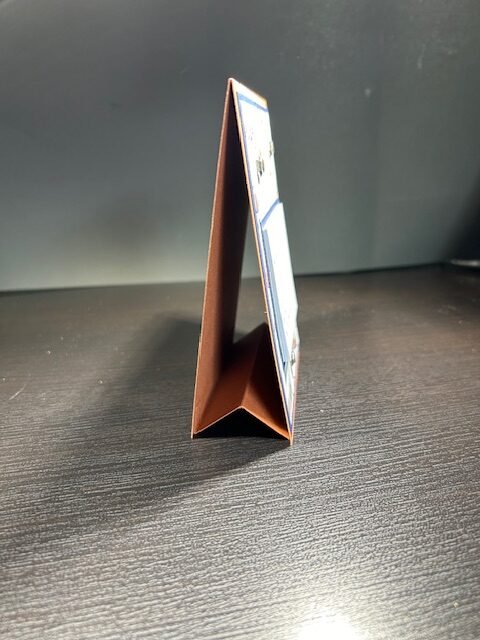
For the card-like calendar, cut cardstock 4 1/4″ x 11, score at 5 1/2″. Add a layer of cardstock 4″ x 5 1/4″. Add a piece of DSP 3 3/4″ x 5″. As the calendars measure 3″ x 2 1/4″, cut a piece of cardstock the measures 3 1/4″ x 2 1/2″. Add calendar to this piece and add to card. Cut a piece of cardstock 4″ x 3″, score on short side at 1/2″, 1 1/2″ and 2 1/2″, accordion fold and adhere to inside as this will be your stand.
Any questions, don’t hesitate to ask. I hope you’ll give these a calendars a try. Check out my video for more information.


 Designer Series Paper")

 Designer Series Paper")


Leave a Reply